Friday 28 February 2014

Terrain: Telegraph Poles

Inspired by the excellent tutorial on making Telegraph Poles over on Shed Wars the other day, I had a crack at making some of my own. I used balsa for the pole, and set it into a chunk of balsa on a plasticard base, so it won't stand rough handling, but I don't expect it to have to! Meanwhile, the inserted sticks are matchsticks, not cocktail sticks, as they were what I had to hand. Pictured below (with flash and without) is a certain Great Detective attempting to work out just what diabolical scheme of Professor Moriarty could have caused a dozen telegraph poles to be placed so closely together.


Thursday 27 February 2014

Ebay Sales

I'm putting a few things on Ebay over the next few days. If either of this first pair interests you, do take a look. First up are a Heavy Mortar (as used by the Death Korps of Krieg in the Imperial Guard of Games Workshop's 40K setting - man, that's a mouthful), and a large home-made bunker.


Wednesday 26 February 2014

Star Fleet Terrain: Planets

For scale a destroyer, and now a trio of planets. They are, ah, primarily in red, blue and green.


Monday 24 February 2014

Terrain: Mini-Bunkers

I have a bunch of little bunkers sat about, assembled and undercoated in black, but unpainted and roofless. So I pulled out three shades of grey and successively drybrushed the walls of the buildings. For reference, I used the following paints. Dark: Mechanicus Standard Grey, Medium: Dawnstone, and light: Celestra Grey. Then I painted the doors with a coat or two of an old pot of Brazen Brass, and splotched a bit of Mithril Silver over that, and picked out the buttons to control the doors with Ultramarines Blue (probably - it's been moved to a modern pot). The above are all GW paints. Then I drybrushed the ground with some Galeria Acrylic Raw Umber, then a second layer of Boldmere Acrylic Burnt Sienna.

I left it to dry, then used dilute PVA to affix some grass to the surface. I'll probably hit that with a drybrush to take the brightness off it. At some point I'll get round to making roofs for these things, but there's no rush. Who needs ten bunkers capable of holding a Heavy Weapons team or five individual soldiers? Not I. I might see if I can sell a few of these to my old wargaming club later this year. I am toying with popping down for Old Boys' Week for the first time in - well, I never! - a decade. That's a bit weird. Anyway, before I ramble off down Memory Lane, here are some shots with Mr Sherlock Holmes investigating some bunkers placed very oddly.


Friday 21 February 2014

Star Fleet: Destroyer Squadron

One Destroyer Leader and two missile-armed Destroyers are in this wee squadron. A nice little trio of lighter warships stand ready to vanquish the Federation's villainous foes.


Wednesday 19 February 2014

Star Fleet: More Pictures of Tug and Destroyers

I managed to get some non-blurry photographs of the new ships. Enjoy!


Monday 17 February 2014

Terrain: Large Woodsman's Cottage

I took one of the covers of the notebook I had finished, and used it as a base. I measured the walls, and scribed the sides to make them resemble planking. I've added some thick bits of balsa at one end to resemble a chimney, and marked out some doors and a window. I used some thin balsa to make a roof, and recycled some Christmas cards to make the tiles for the roof. The chimney stacks are pieces of plasticard tube. Sherlock Holmes is for scale again. More pictures once this wee beauty is painted.


Friday 14 February 2014

Terrain: Maze in Progress

After moving an old photograph to a new frame, I had a spare piece of backing, so I am using it to make a very small garden maze. I mainly used 25mm tall bits of balsa wood for the walls, but I used matchsticks for the central circle. The template for the circle is the lid of a tub of sorbet. This is, I grant, far too small for a maze, but shrinking things for gaming is quite the thing. Sherlock Holmes for scale again. More pictures once I've finished this oddity.


Wednesday 12 February 2014

Terrain: Fences in progress

I had finished off a notebook with thick card covers, so I cut some 1" by 6" strips from it. They're the base here. I cut a strip of balsa wood 7 * 7 * 25mm, trimmed off the corners, and ran some sandpaper over the wood. That gives the look of weathered outdoor wood once painted. I decided to try a few different styles of fence. I used some trimmed matchsticks for some and some pieces of wire from paperclips for others. I made holes with various sharp implements before sliding the various things through the holes, and gluing them in place with superglue gel. Painted pictures will follow. Sherlock Holmes is for scale.


Monday 10 February 2014

Star Fleet: Painted tug and destroyers

I took a lot more pictures than this, but they ended up all blurry, despite my use of a tripod. Mean camera. Anyway, the two that did look fine. I altered the look of these ships when painting them up, using a medium grey as the panel-lining colour, and drybrushing successively lighter shades of grey and white onto the hull. The cruiser in the pictures is painted in the old style, and is included by way of comparison. I used battlecruiser models for the tug and the DDL (plasma torpedo-armed destroyer), and a heavy cruiser model for the DDG (missile-armed destroyer). This is mainly visible in the larger bridge bulge you can see. At some future point, I'll get some transfers for these lads. The fleet as a whole is looking pretty good. There are only a few more bits and bobs I'd really like to fill in.


Friday 7 February 2014

Star Fleet: Tug and Destroyers

While I paint these models up, a few more pictures of my new destroyers (DDG and DDL) and tug.


Wednesday 5 February 2014

Star Fleet: Tug conversion

Having hacked up a cruiser model to get the neck and saucer, I had some warp nacelles and support struts left over: just what I need to start work on another conversion. This vessel is going to be mainly used in scenarios and as an objective piece, as it has little combat ability and is a bear to make. I'll drift off into a little "history" lesson here. Like the destroyers I've been working on recently, this tug is from the halcyon days of yore. When the Enterprise travelled back in time to create a backdoor pilot for a TV show about a man, his advanced alien sexpot cat and their secretary - no, really! - the American military somehow ended up with a mess of information about the constituent parts of Star Fleet or Starfleet. In general terms, they learned of the heavy cruiser, of which the beloved Enterprise is an example, the destroyer, which can easily be made from an Enterprise kit, the dreadnought, which had three warp nacelles, and the tug, which has underslung engines, and can lug great big cargo pods around the galaxy for various - mainly military - reasons.

The chap who came up with these ideas and Gene Roddenberry had a falling out, so you only learn of this stuff when you go looking for it, as Gene decided to write it out, and make Starfleet (not Star Fleet) much more peaceful, and a dreadnought is more of an arms-race intensifier than a pacifying agent. For more on this saga, check out 
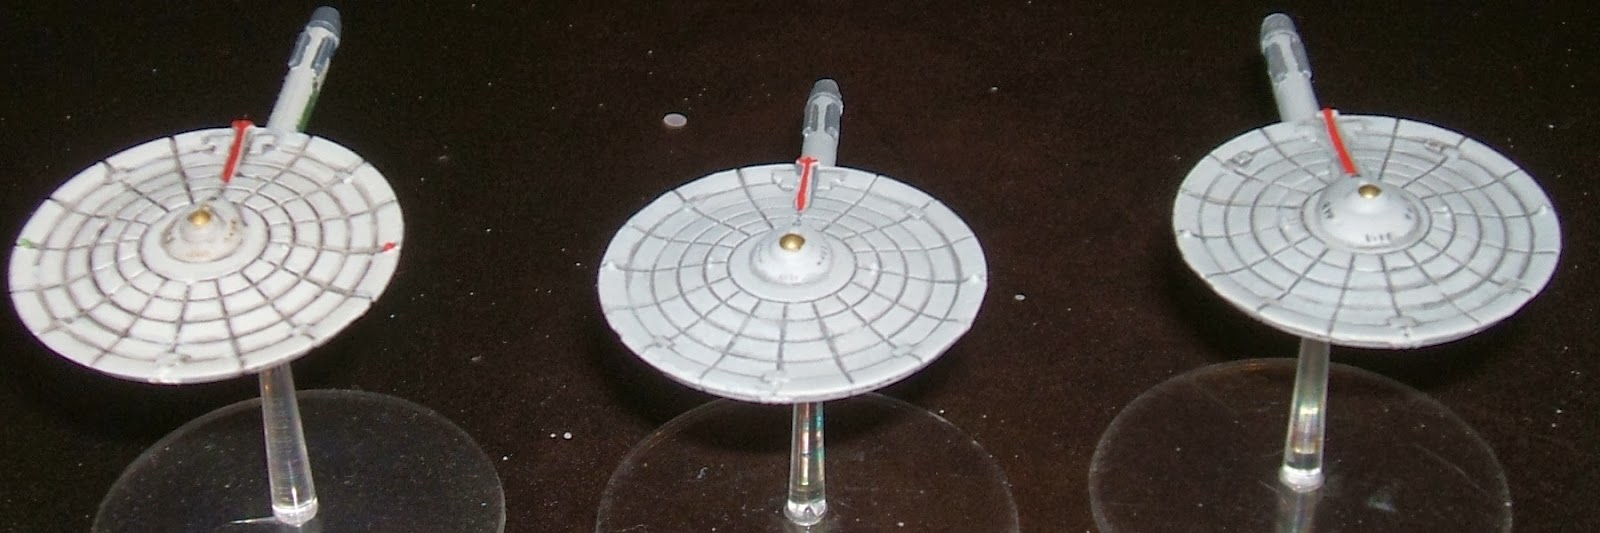
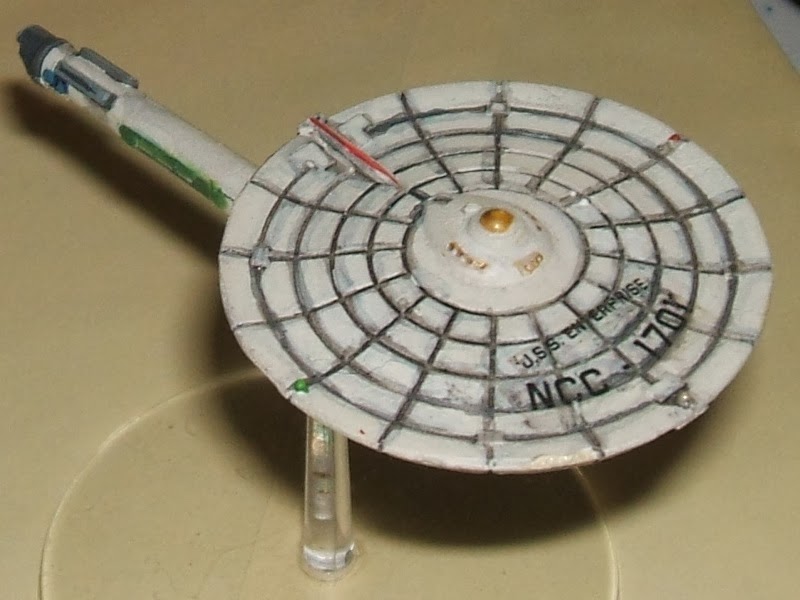
this site. Suffice to say that for my games of ACTA: SF I want some of these more obscure vessels, hence the hacking and carving and slashing and scoring of kits I'd long since put together. It was a pest to assemble this vessel, and if I had any sense, I should have rigged up a jig so I could just have put the warp nacelles in place, glued them and gone away. I didn't, and there was a fair amount of profanity uttered when I finally finished them off later. It may strike you that the GS applied at various points is copious. There's a reason for that: it has diminished subsequent swearing. I've modelled this vessel with a single cargo pod, which is approximately to scale. Here are a few pics, and look forward to seeing USS Ptolemy at some future date with an escort of destroyers, as she delivers vital Mumbleonium to the Federation colony of Plotdeviceium VII!


Monday 3 February 2014

Star Fleet: Destroyer conversions

First off, Happy February! Congratulations on surviving January. Commiserations on today being another Monday. Now, onto the main event. Having made a DDG (a destroyer armed with additional missiles) and a DDL (a destroyer armed with plasma-torpedoes), I had no sensor dishes sticking out the bottom of the saucer. I ordered some 0.8mm drillbits, and waited for them to arrive, and drilled into said bottom of the saucer. I clipped some staples into L-shapes, and glued them in with superglue gel. I mixed up some GS, and stamped out some circles of it using a bit of plasticard tube, then gently pushed them out with the end of a paintbrush, leaving concave dishes, which I left to harden for a bit. The dishes aren't perfect, but they are cheap. The differences between the DDG and DDL aren't huge, but since I'm using the CA (heavy cruiser, as in the old Enterprise) kit to make the DDG and the BCH (Heavy Battlecruiser) kit to make the DDL, the DDG has a smaller bridge, and the DDL has a gunnery room at the junction of the neck and warp nacelle. I've circled that for ease of observation. Massive differences, these ships. Next up: painting!


Related Posts Plugin for WordPress, Blogger...