Showing posts with label Scratchbuilding. Show all posts

Monday, 4 September 2017

Steam Launch 2

Pre-painted stage is here. Here's the finished steam launch on the desk and afloat on the wine-dark sea.


Monday, 14 August 2017

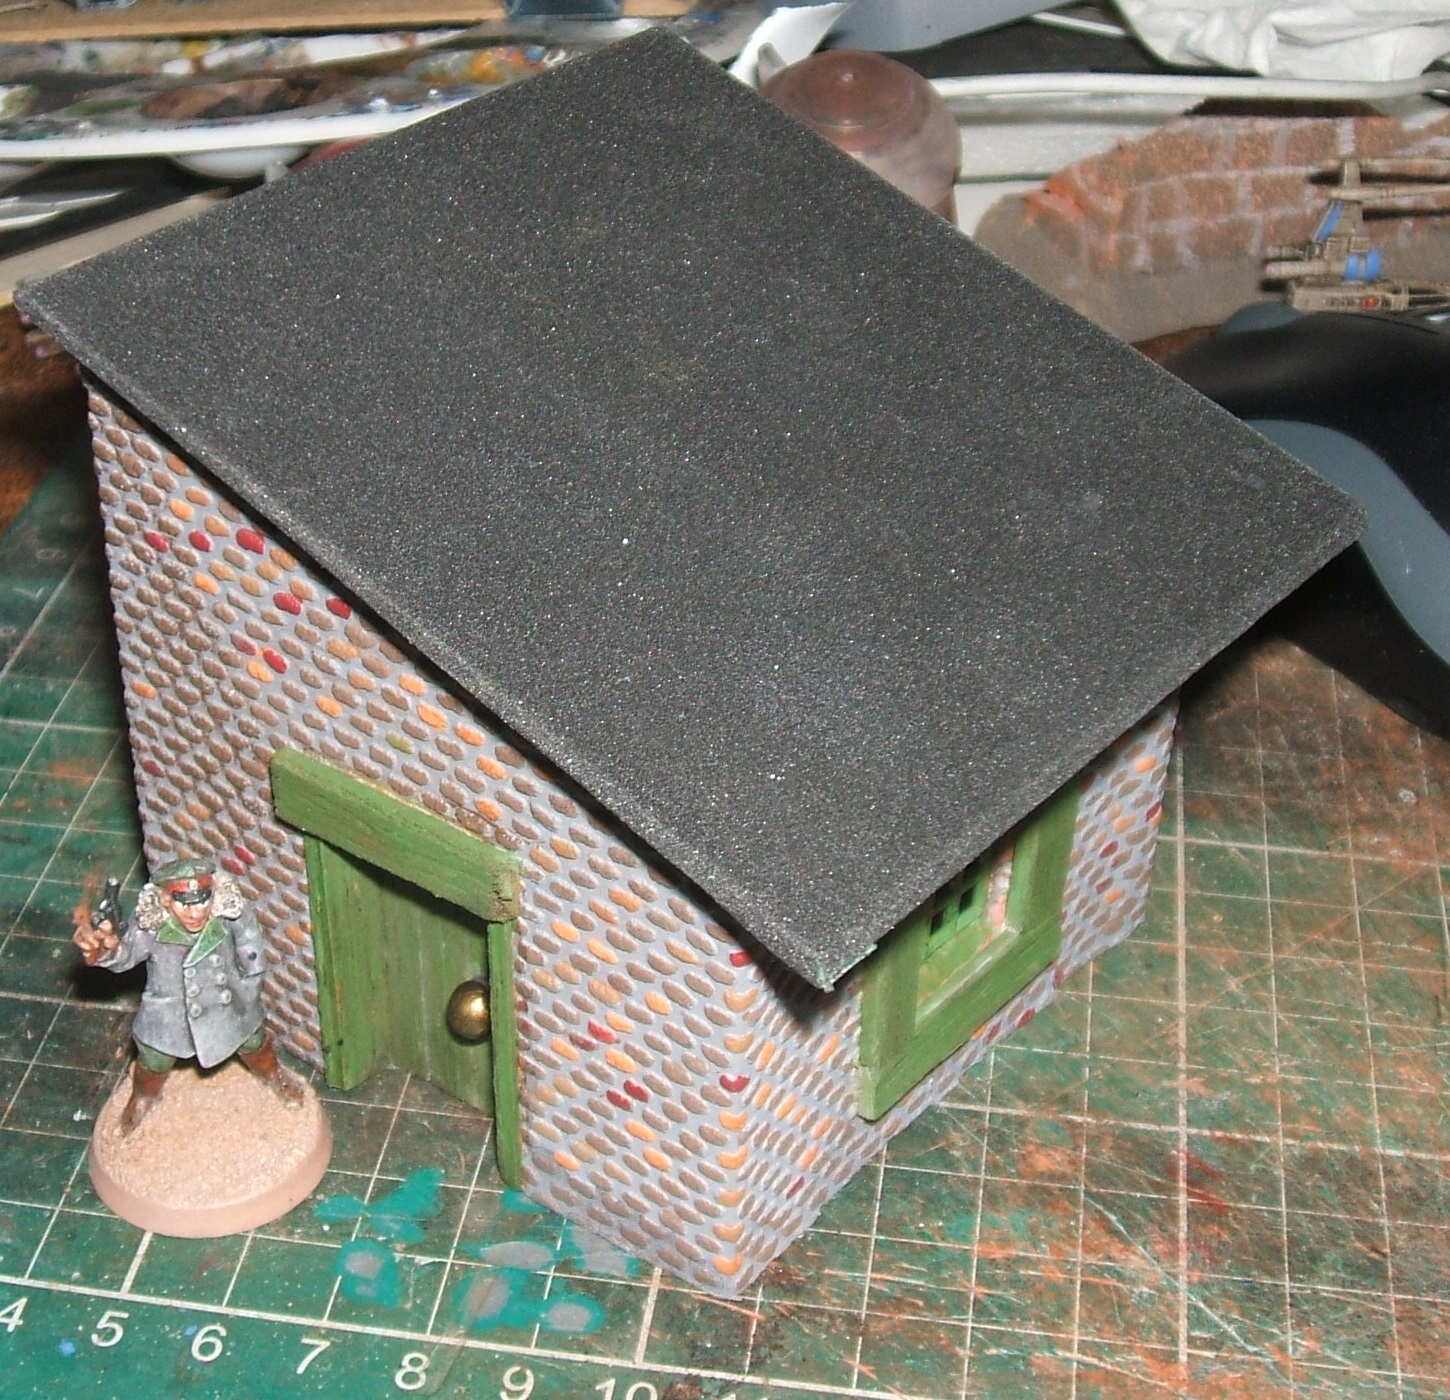
Lean-to-cum-shed

This ended up looking really quite huge next to the model, which is going to inform my choices about scaling in future. Fundamentally, I make doors too big, and that then throws everything else off. The window's a bit skewiff, too. Nonetheless, I'm pretty happy with this. The wallpaper that provides the bricks is just great, although one does seem to spend forever painting it. The roof felt is black sandpaper, and the window is that granny grating stuff. I'm knocking up a few buildings at the minute that have a particular feel to them, on which more in due time. Future iterations will either be smaller or have a chimney, because this thing's so big it could be a cottage. The roofing and brick give a suggestion of period, but aren't too specific, I hope. The doorknob needs to be smaller, too.


Monday, 17 July 2017

Steam Launch WIP

There's a nice article in one of the gaming magazines about making a steam launch, and I am easily influenced! 28mm Copplestone German Freikorps chappy for scale.


Monday, 16 January 2017

Retro Monday #8: Trojan!

A very early vehicle for this blog here. A scratchbuilt/kitbashed open-topped Imperial Guard Trojan, from back when this blog was young, and actually all about AFVs for my now dusty Imperial Guard army. Hard to believe it's from 2010.


Wednesday, 11 January 2017

Experiments with Granny Grating

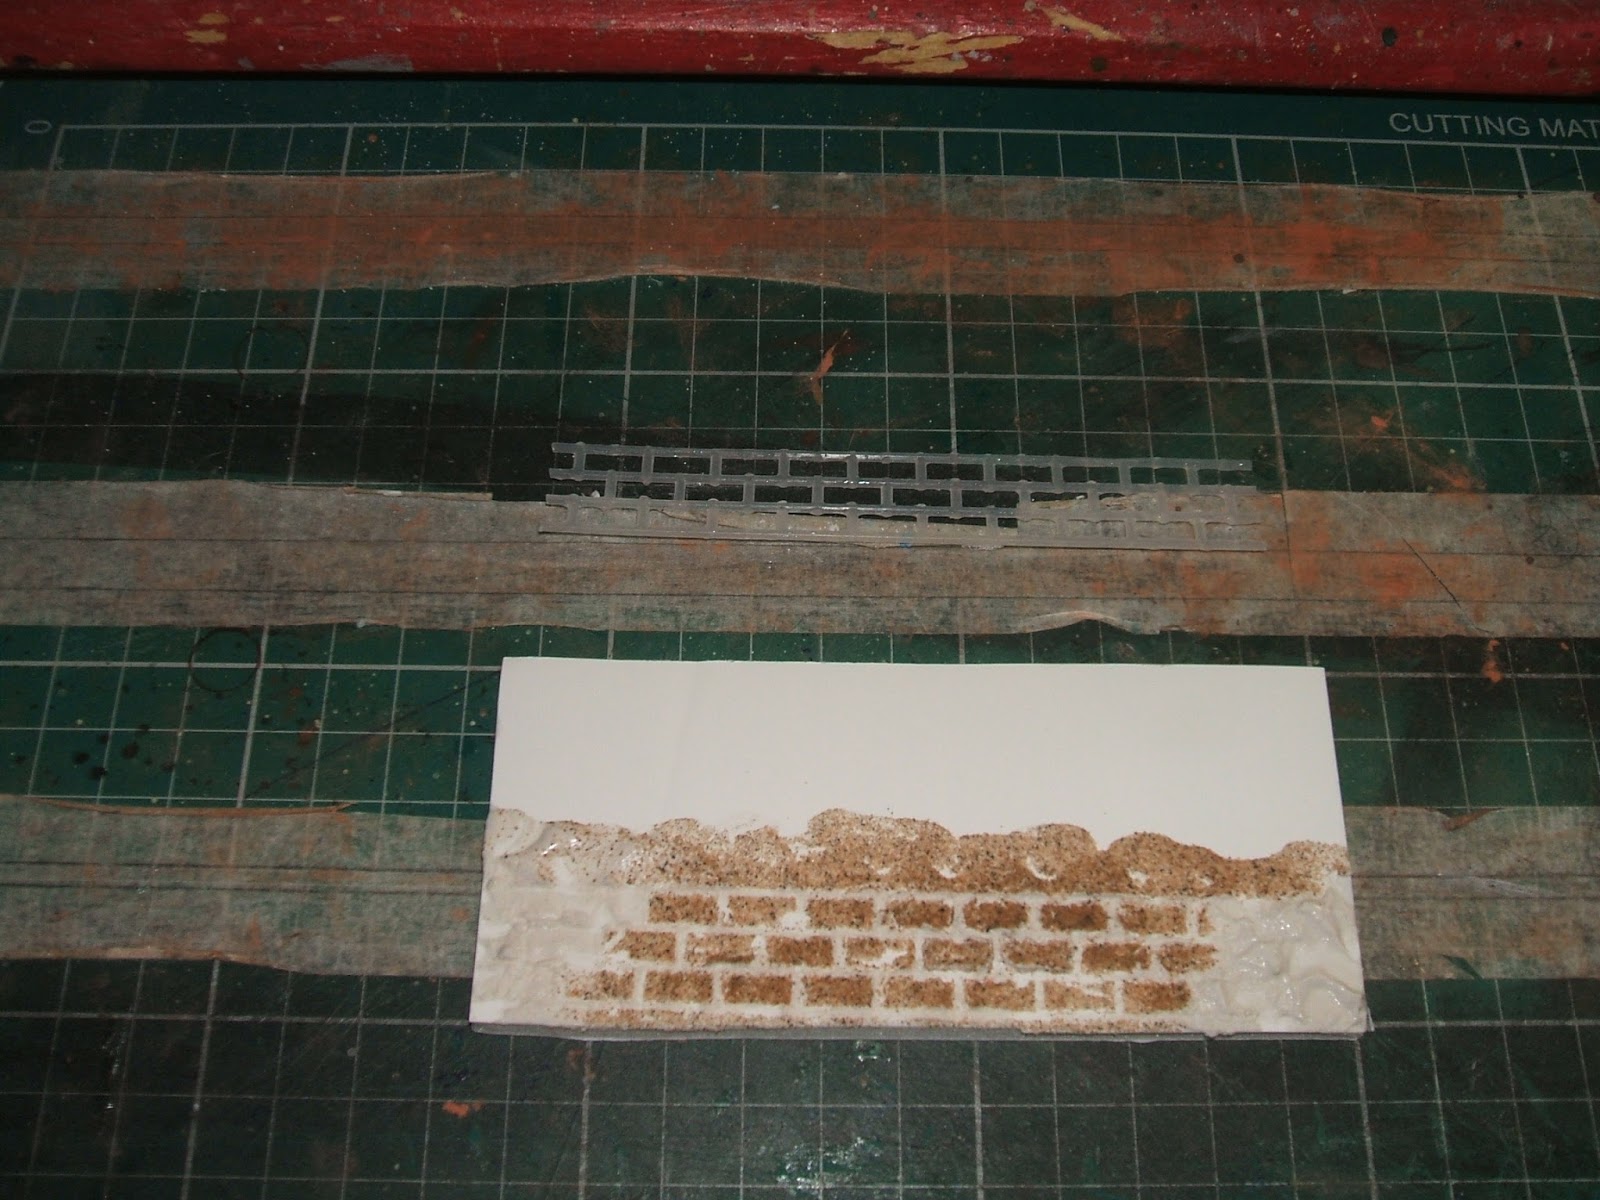
Having picked some of this stuff up a while ago, I have been wondering about its possible uses. The one everyone talks about is as metal grating for floors. I have used it for that in a little experiment I uploaded recently. However, what I'd like to submit for your consideration today is its potential for use as a template. It is a bit of a hassle to do, but it's quite possible to remove some of the struts and create a pattern to use for all sorts of things. My first thought was brickwork, but it's just as good for flooring.

Recently, I saw a video (on Youtube, I assume, but forget) of some folks using sand, cement and templates to create a false impression of a stone driveway. About the same time I saw someone using a similar technique to create a false brick wall. So I experimented along those lines. I cut myself some test templates, mixed up some filler, and daubed it on some scrap bits of foamcard. Then I carefully secured the templates on the filler, and gently sprinkled sand on them. It fell only in between the plastic bars of the grating, so when I removed the template, I was left with something quite attractive.

However, it was imperfect. Despite trying to secure the sand with a PVA-water coating, it would not stick securely enough to resist even nominal handling. Then earlier on I was thinking of making some more sandbag barricades, and drew out my terracotta Das clay. A lightbulb went on in my head. I used a bit of plastic pipe as a rolling pin, applied the template as before, and bam! I scrunched up some tinfoil to apply a bit of texture to the "bricks", and carefully removed the template. Then I gently pressed away the sharpest raised areas created when the template was removed. I did this over the course of less than a minute, and the "wall" did try to come away. It would probably be fine to leave it to set for a few minutes somewhere warm before removing the template again.

In my test piece I applied quite a thick piece of clay. So in future I shall either roll it thinner or do what I mean to do as part two of my test. I am going to mix up some thin thinner and some paint, and apply it between the "bricks" to duplicate the appearance of mortar. Keep your eyes open for that in a future blog.




Monday, 9 January 2017

Retro Monday #7: Tank Trap Tutorial

Another blast from the past here. It's beginning to look as though the most popular posts cluster in 2013. Let's see if we can change that - and not just with the help of these strange Russian robots that keep skewing the visitor counts!

Saturday, 7 January 2017

Native huts: Part 2 - painting

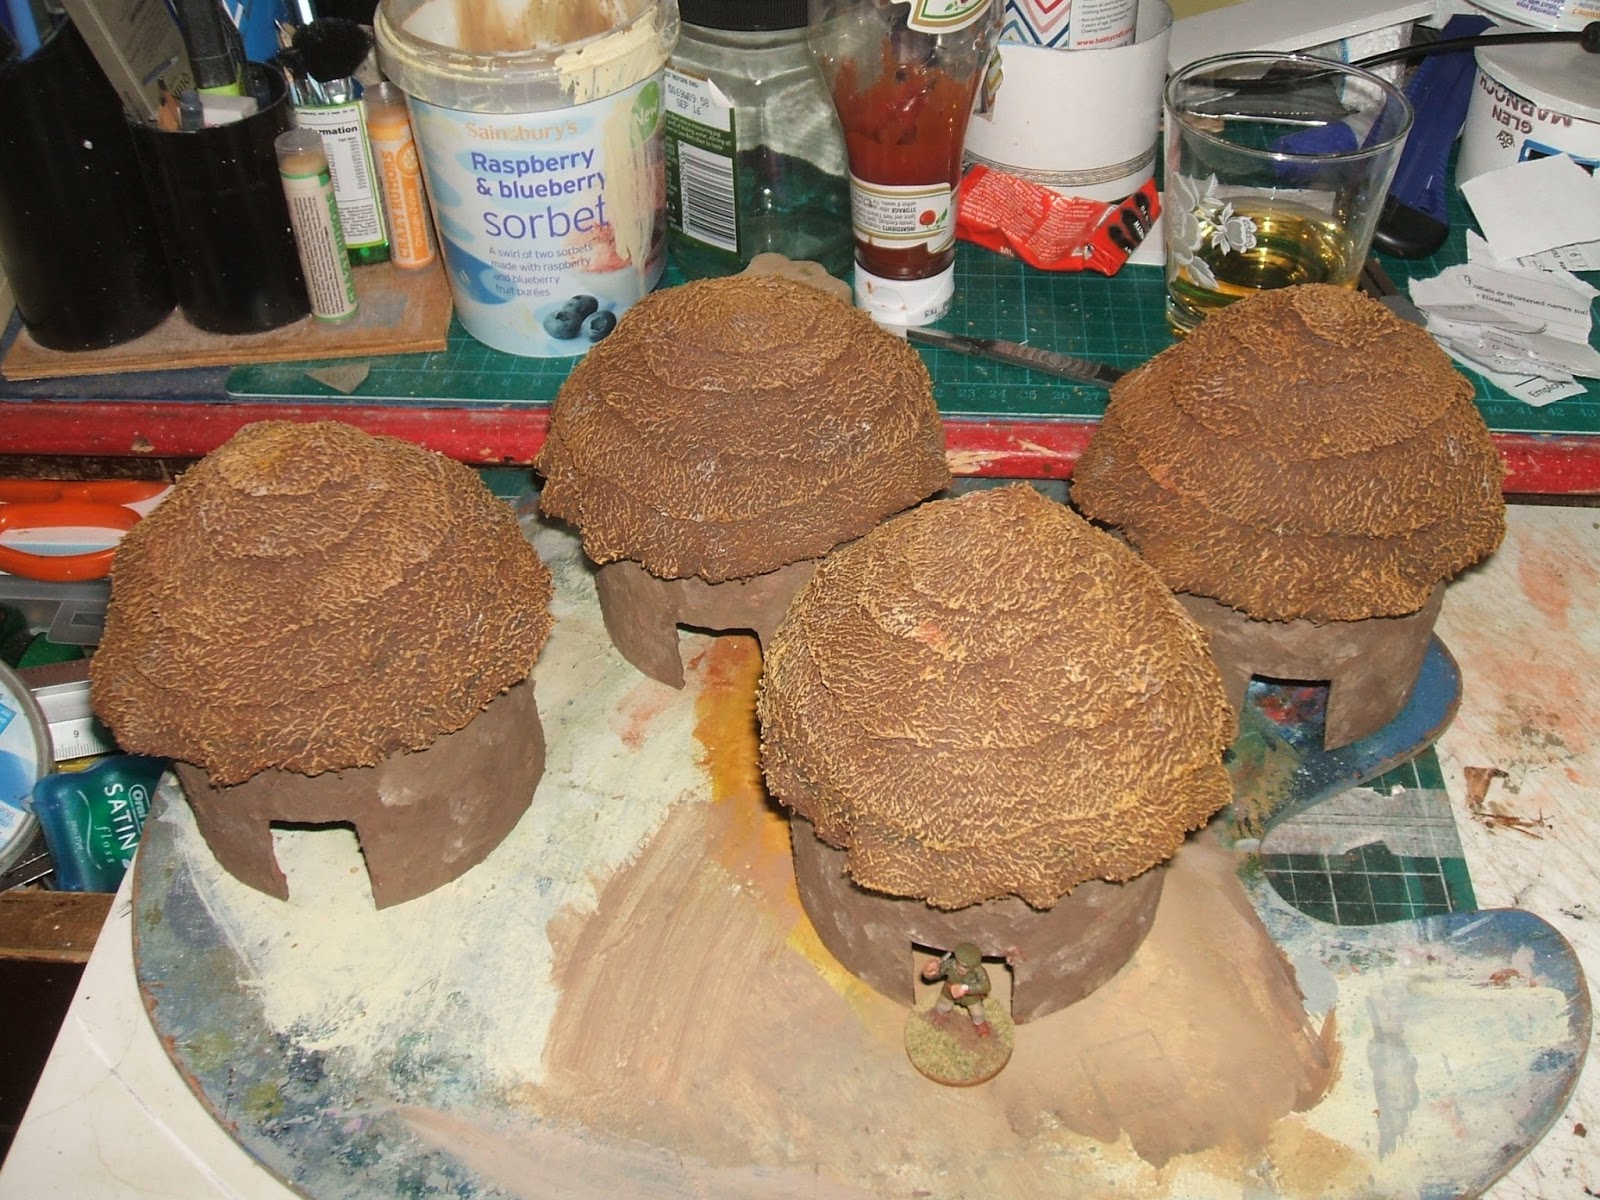
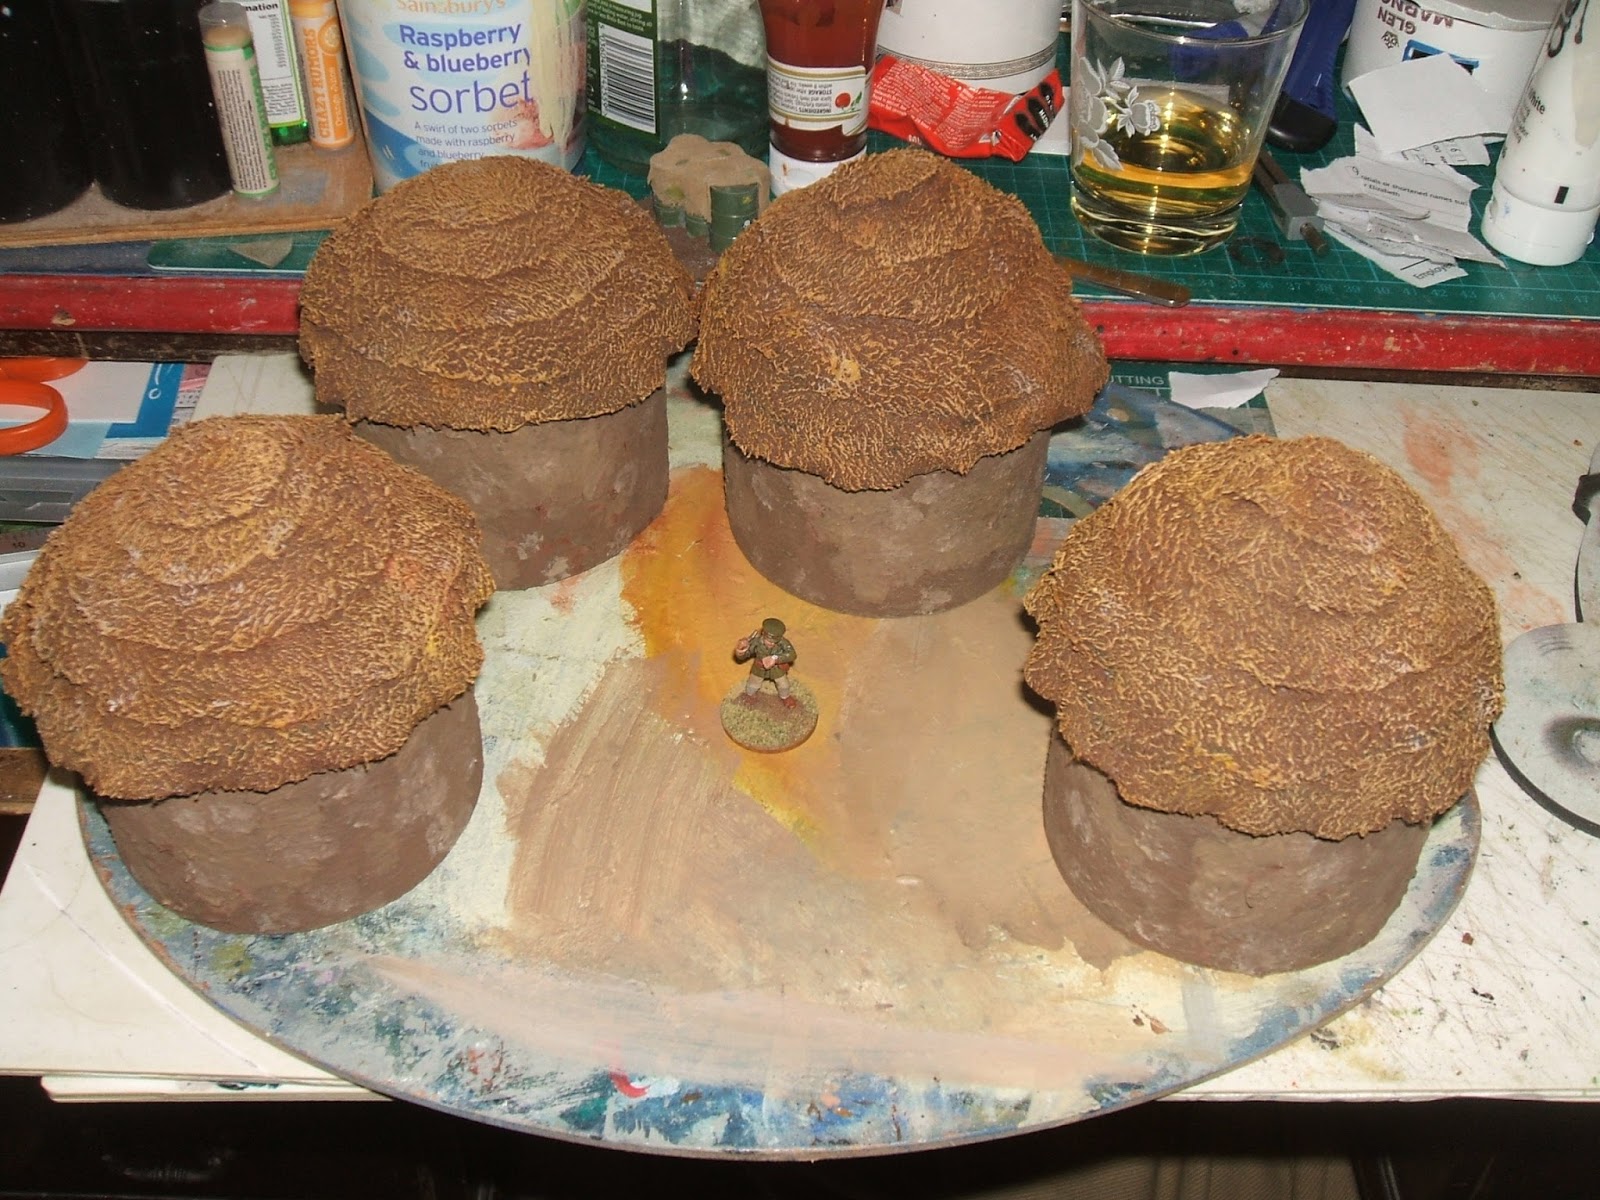
Happily, the solution I came up with of cutting the towel into circles worked pretty well. I'm not quite happy with the droop on the lowest circle, but I can bear it. I undercoated everything with some Halford's brown gloss spray paint. I think the aforementioned article in Wargames Illustrated #350 notes the irritation of trying to paint a base colour onto towel by hand! With the roofs, I went for a golden-orange range of tones for the straw, usually doing some drybrushing downward, but also sweeping around, too. For the walls I stippled on a span of dirty creams and browns, suggestive of the natural appearance of the materials. I was cognisant of how the bricks in my house are of a wide variety of colours. Having finished the four, I realised I could have saved myself a spot of bother with the roofs by using (vegan) yoghurt pots. D'oh! That said, it means the easy little things should be even easier to replicate.

As an aside, you can see upside down in that last photo I have used a cardboard tube of Glen Somethingorother. It's Aldi's attempt at a single malt, and is everything you would expect a single malt priced £11.49 to be. I wanted to give it the benefit of the doubt. That said, although it is an abomination as a single malt, it's better than something like Jack Daniel's or Bell's when used in a cocktail, and vastly cheaper than those overpriced tipples, so I may yet buy it again provided it's going into something where I can't taste it. Don't buy it for anyone who likes single malts unless they have a bad case of the flu, and can't taste anything. ;) It is not the amber nectar in the glass on the desk in the background. I think that was some Laphroaig.


Wednesday, 4 January 2017

Native huts: Part 1 - construction

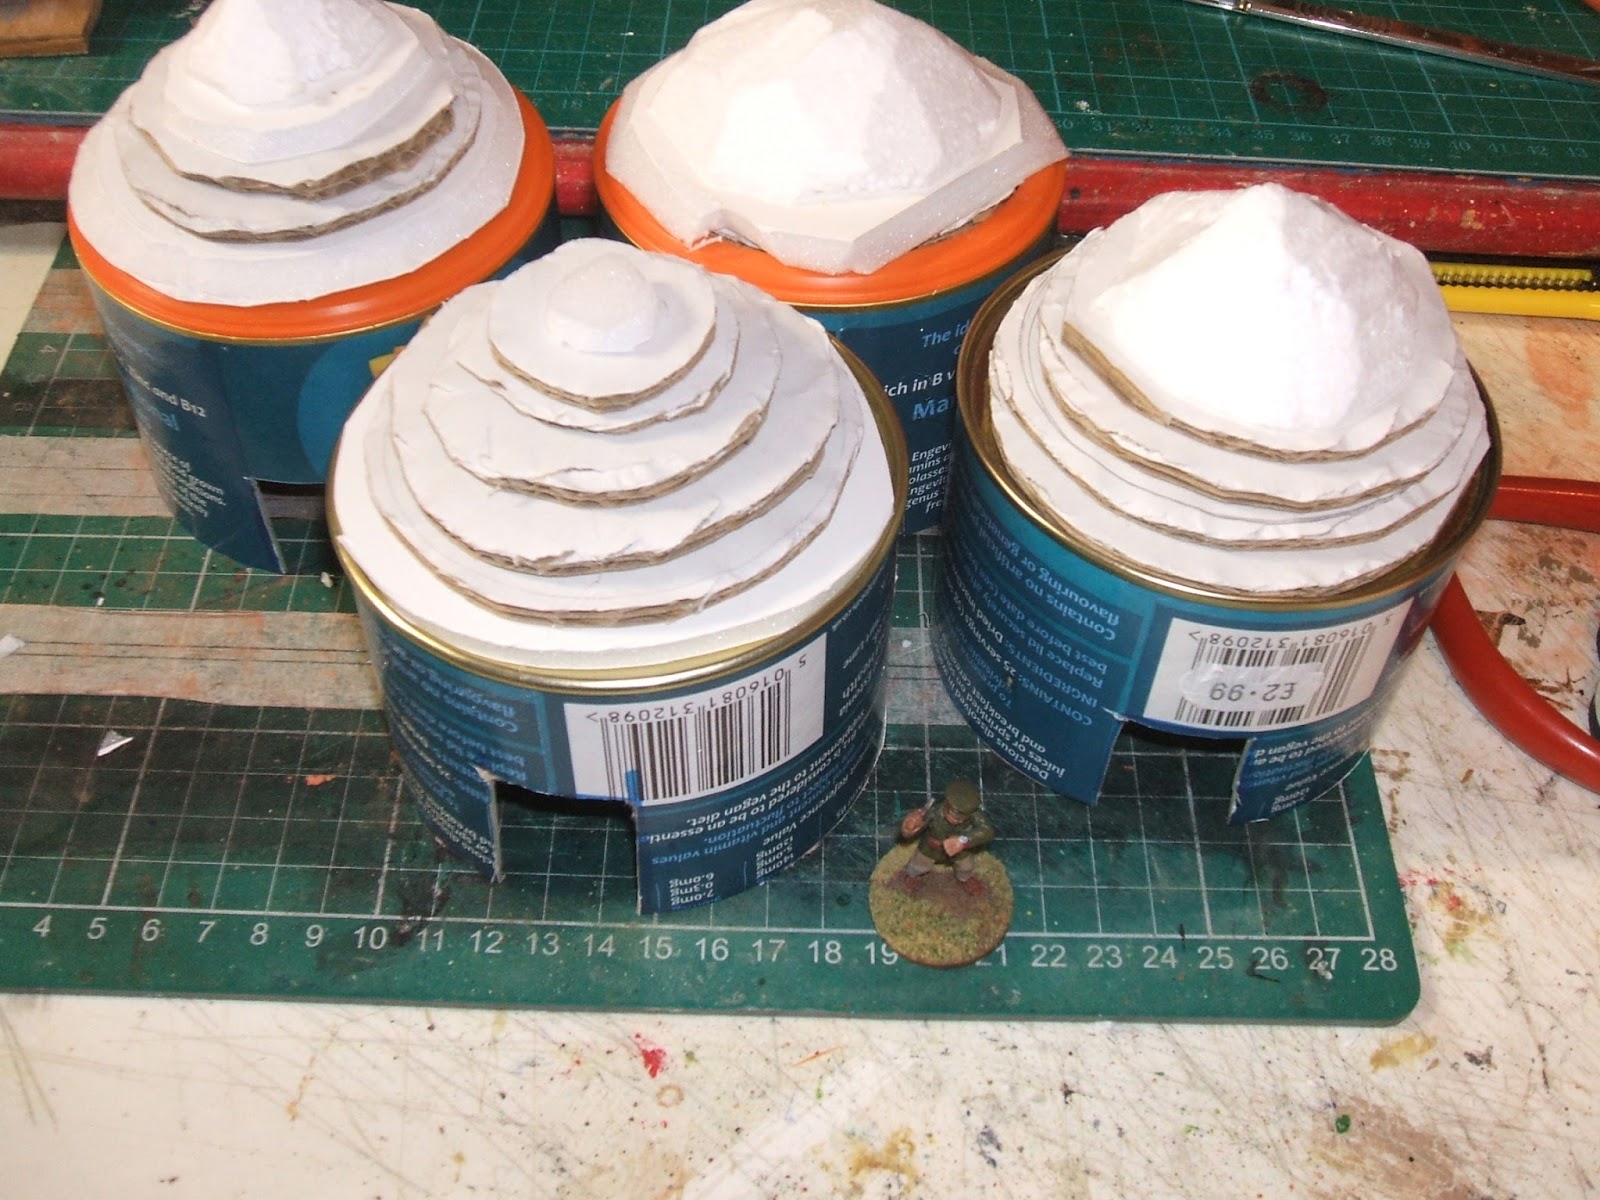
After seeing a terrain tutorial in Wargames Illustrated #350 on making huts I was inspired to knock up a few huts. They were so easy I may make a load more. That said, I did run into a problem, as I shall relate. Anyway, I took some circular containers, marked them and cut them to the right size. The photos are pretty self-explanatory. I started using foamcard to make the roofs, and then realised I could just as well use some scrap card and foam I had lying about. I daubed on the walls a mix of paint, filler, sand and PVA. Once the elements were dry, I smoothed the edges with a knife, and squirted mastic on them to further smooth out the lines. Then I started gluing strips of towel on to stand in for straw. And here is where it went a bit wrong. As you can see in the final photo, the roof looks all kinds of wrong. And you can see what I decided to do about it: cut out circles of towel rather than strips. As you'll see in Part 2, they look much better.


Friday, 30 December 2016

Odds and Ends

Tidying things up at the end of the year, I find a few photos sitting around that I have yet to share. Some are old bits of work refreshed, others are wholly new. Without further ado, here we go. First off, a huge load of hedges I made some months back. Quantity was the watchword with these, not quality, but they look better up close than in this distant photo. I came up with three heights (10mm, 40mm and an intervening one I forget right now as it isn't in this picture), and produced six feet or so for each height. These aren't the only hedges, mind you.

Next, an unsuccessful river experiment. I cut up a rubber doormat as a base, and gave it banks and texture with some squeezy acrylic goop from a tube. I painted over the top, and painted some cheap varnish over that. The idea was that the rubber would let it conform to terrain. As it turned out, the varnish still hasn't entirely set over a month later. I don't know if it's a problem with that cheap varnish or what. I may experiment further this year.

Third, 1/72 Polish, French and Prussian cavalry for the failed attempt at a wargaming do back in the summer. When that fell though I understandably lost the impetus to get the models done, so large numbers of models are stuck to painting sticks literally gathering dust.

Last of all are two pieces of scatter terrain. The former has been finished about nine years or so on from its creation. A simple bit of light cover is all it is. The other is made of "granny grating" and some of those till rolls I have mentioned in previous posts. I envisage it as part of a larger complex, which has fallen into disrepair.


Monday, 26 December 2016

Friday, 23 December 2016

Sandbags a la The Terrain Tutor

Inspired by the ever-excellent Mel, I made a handful of experimental bits of sandbags, some for 28mm, and others for 15mm. I based them on his Youtube video, which you should check out. They've turned out pretty nicely, and I mean to make some more. I'm going to make the 28mm ones a bit taller, too. I made these with air-drying clay, but future ones will probably have a top layer of Milliput so that the most visible bit looks better. If you look closely at these, you can see some cracks in the top layer of sandbags because the clay dried before I was done. If I apply a layer of sandbags made of Milliput over the top of that, it should look much nicer.


Related Posts Plugin for WordPress, Blogger...