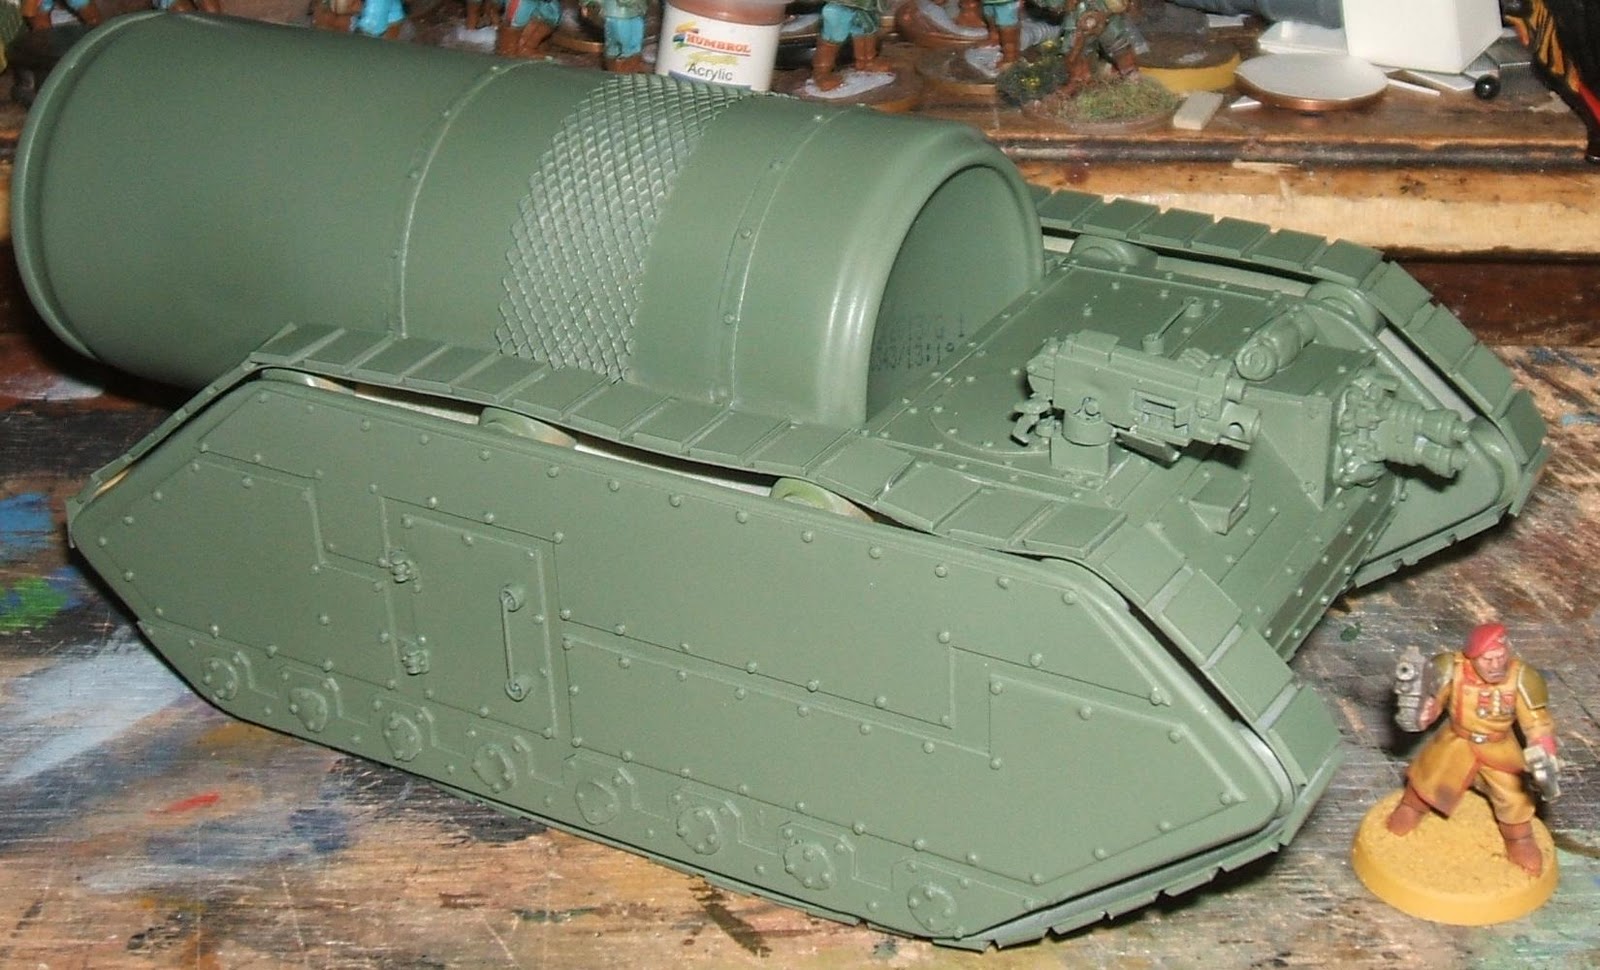
Having applied the transfers, I took a few comparison shots with a Chimera-sized vehicle I had to hand (which needs a good clean-up, if not redoing completely, I agree) and a Cadian officer. Having done so, I decided to try my hand at a technique I have seen in some modelling works. One applies streaks of oil paints, then brushes turpentine over the top until the streaks are invisible (I notice I haven't been wholly effective in the second picture). I then did some work on the weaponry and applied rust to the body of the vehicle. I knocked up a mud mixture from black paint, Burnt Umber paint, PVA glue, sand and some Polyfilla-style powder and some "leaves" courtesy of Antenociti. Having applied this to the tracks, I took the vehicle off to dry. I'm lucky to have access to a place I can dry the vehicle quite quickly, so I was able to apply another coat half an hour later. Finding I still had a lot of "mud" left over, I decided to knock up a base for the vehicle. Having again allowed all this to dry, I applied a gloss varnish to both, and am currently in the throes of deciding whether to leave the vehicle gloss-varnished, to suggest it is caught in a rainshower amid all the mud or to matte-varnish the parts of the vehicle not tarnished by mud. Behold the pictures. The final update should come on Monday, dear readers.


No comments:
Post a Comment