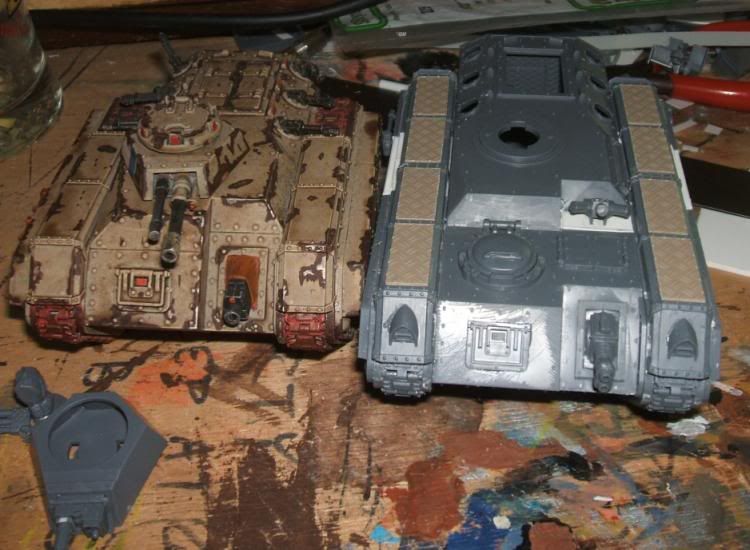
I mentioned the Chimaera I planned to lengthen for a PCS or CCS. She is coming along very nicely. Here is how I went about adulterating the kit's normal appearance. First, I sawed the four side panels. I cut out four pieces of 2mm thick plasticard, as tall as the Chimaera's side (about 43mm, IIRC) and 30mm long. I glued these in place and cut some strips of 1mm and 0.5mm thick plasticard to help secure them. Be careful when doing this not to glue a support strip anywhere that will stop you from assembling the vehicle. I used some offcuts of 2mm thick plasticard to make a 10mm wedge to connect the inner and outer sides of the vehicle. I did not want it to come apart, bend or anything!
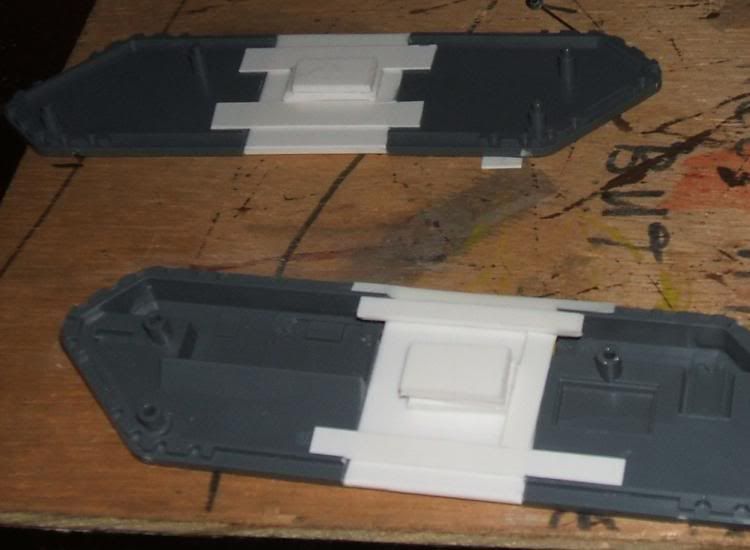
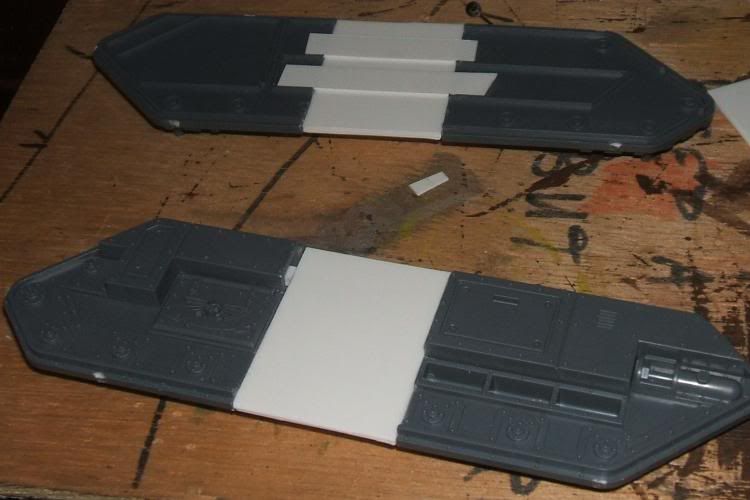
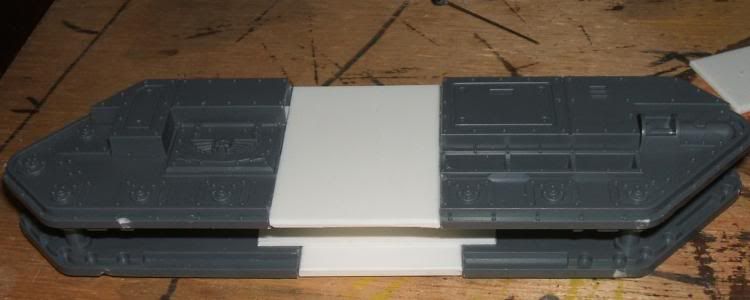
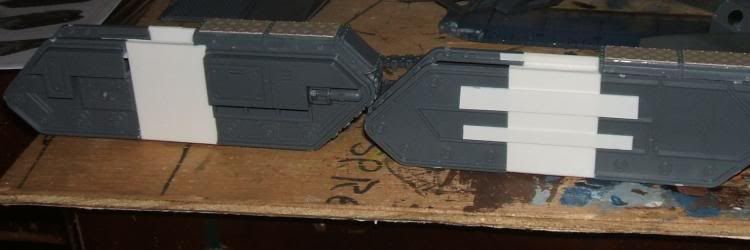
I test-fitted the inner parts of the vehicle, then glued the upper and lower parts of the vehicle in place. Remember you will need to cut a piece of plasticard for the bottom of the hull, as it's now 30mm longer. I used a large number of the old track guards. I have a box of these things. There is a gap in the track beneath the top ones, and there is a small one in the bottom tracks.
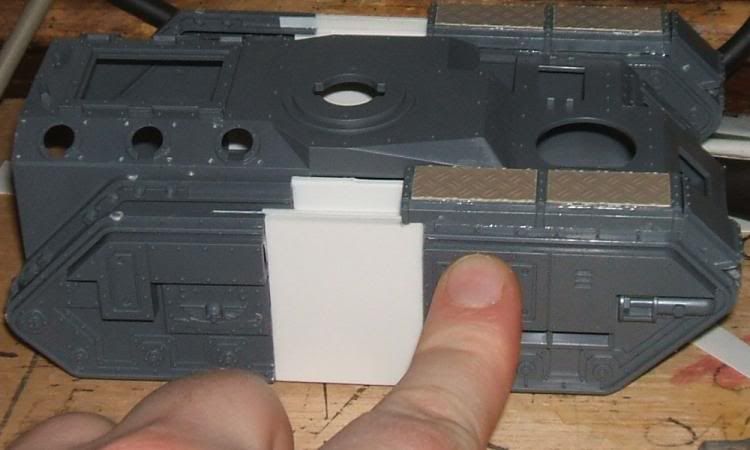
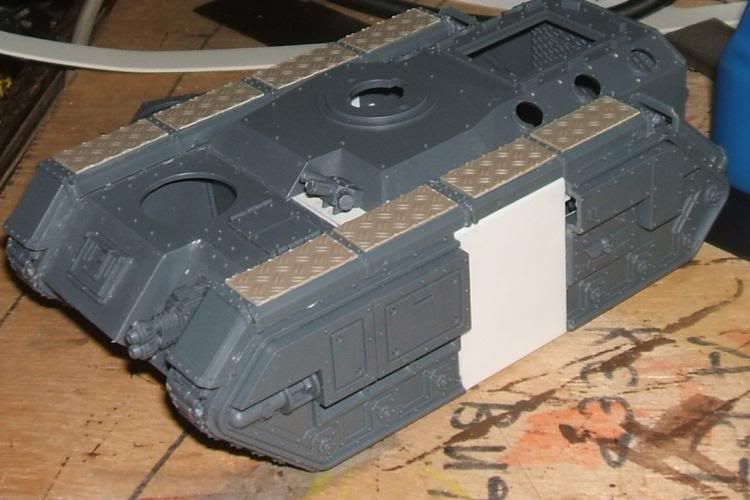
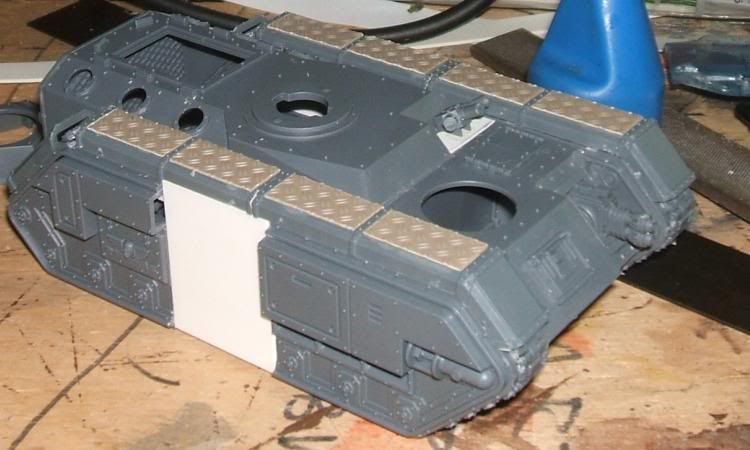
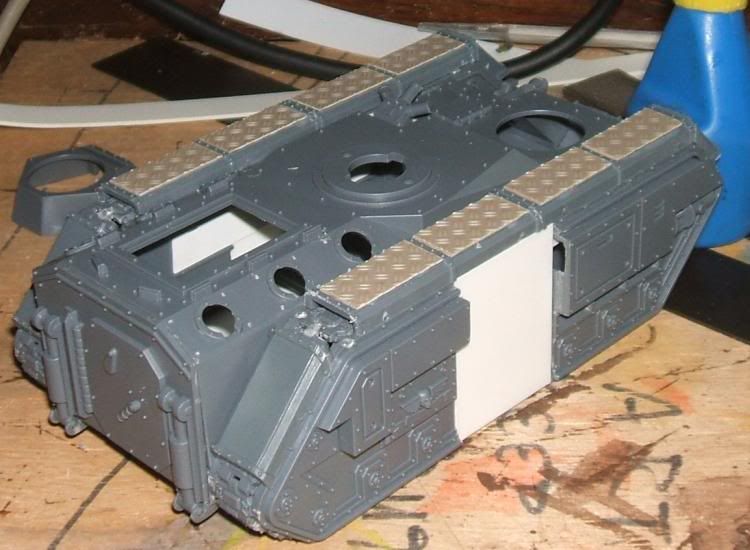
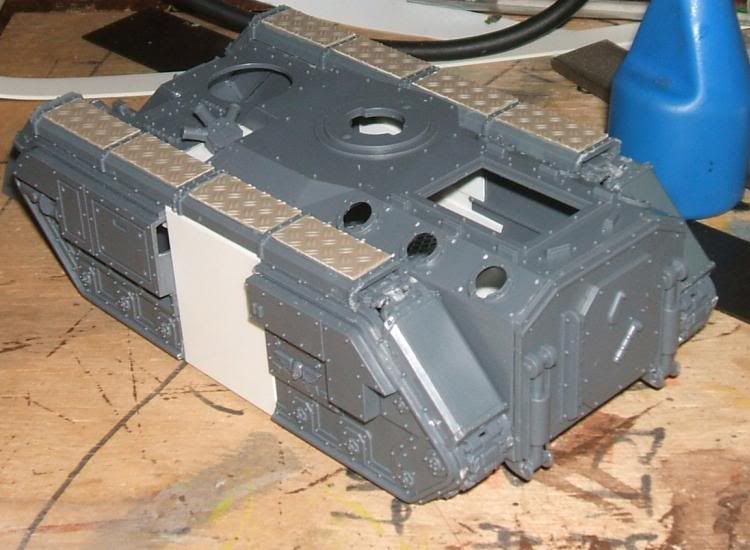
Then I started work on the detailing. The side panels on the upper hull were blocked off with 0.25mm plasticard, then I cut some 2mm thick plasticard and glued it in place. The dimensions are 29mm by 28mm. The edges need tidying. For the bottom of the hull I used 0.25mm plasticard to copy the shape of the wheel holders. Then I used a 30mm by 2mm strip of 1mm thick plasticard to continue the lines of the side strips. There is tidying needed here: Greenstuff, no doubt. There's a wealth of rivets to apply. For headlights and rear-lights I used those Gothic view-ports from the Baneblade kit. I also nabbed some equipment from the same, and used one of the nameplates to put on the flank. The turret will only mount a Heavy Stubber, as I'm not too keen on the kit Heavy Flamer. So I shall represent the turret Heavy Flamer with a crewman toting a Heavy Flamer. I shall not give him a set of tanks, but instead run a cable down to the innards of the vehicle.
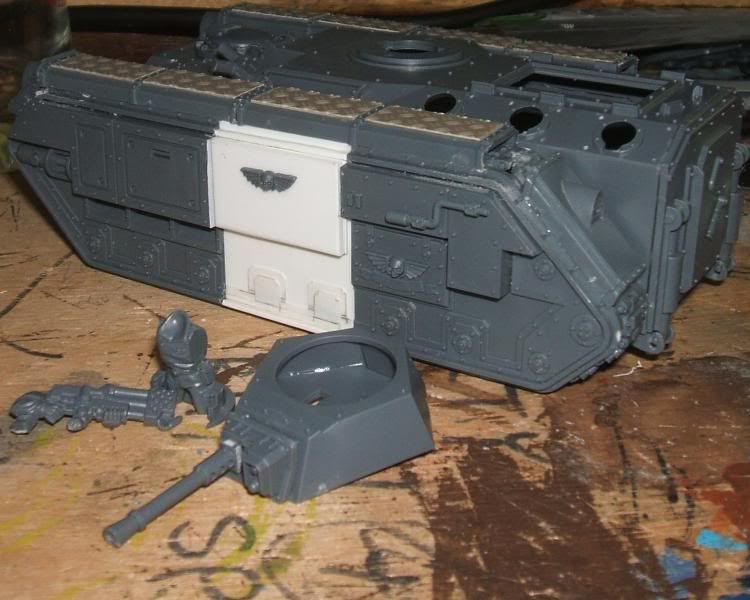
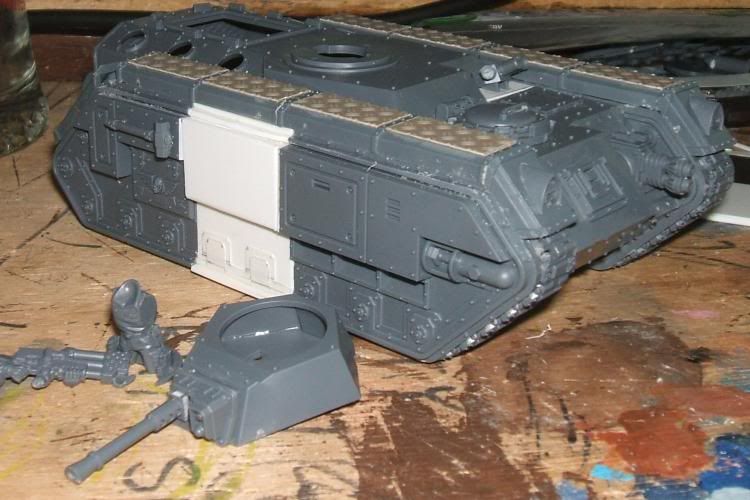
Still work to do, but she is coming along a storm!
No comments:
Post a Comment